A sleepsuit. Or a daysuit. He's two weeks old, he can mix it up a little. Freezer paper stenciling is brilliant: quick, easy, cheap and addictive. At first it was hard to get hold of the paper and I eventually found it on ebay. It seems it is much more widely used in the United States.

What you are doing is making a stencil on the matte side of the paper, ironing it face up so that the glossy side adheres to your canvas, creating a very user-friendly stencil for you to paint on.
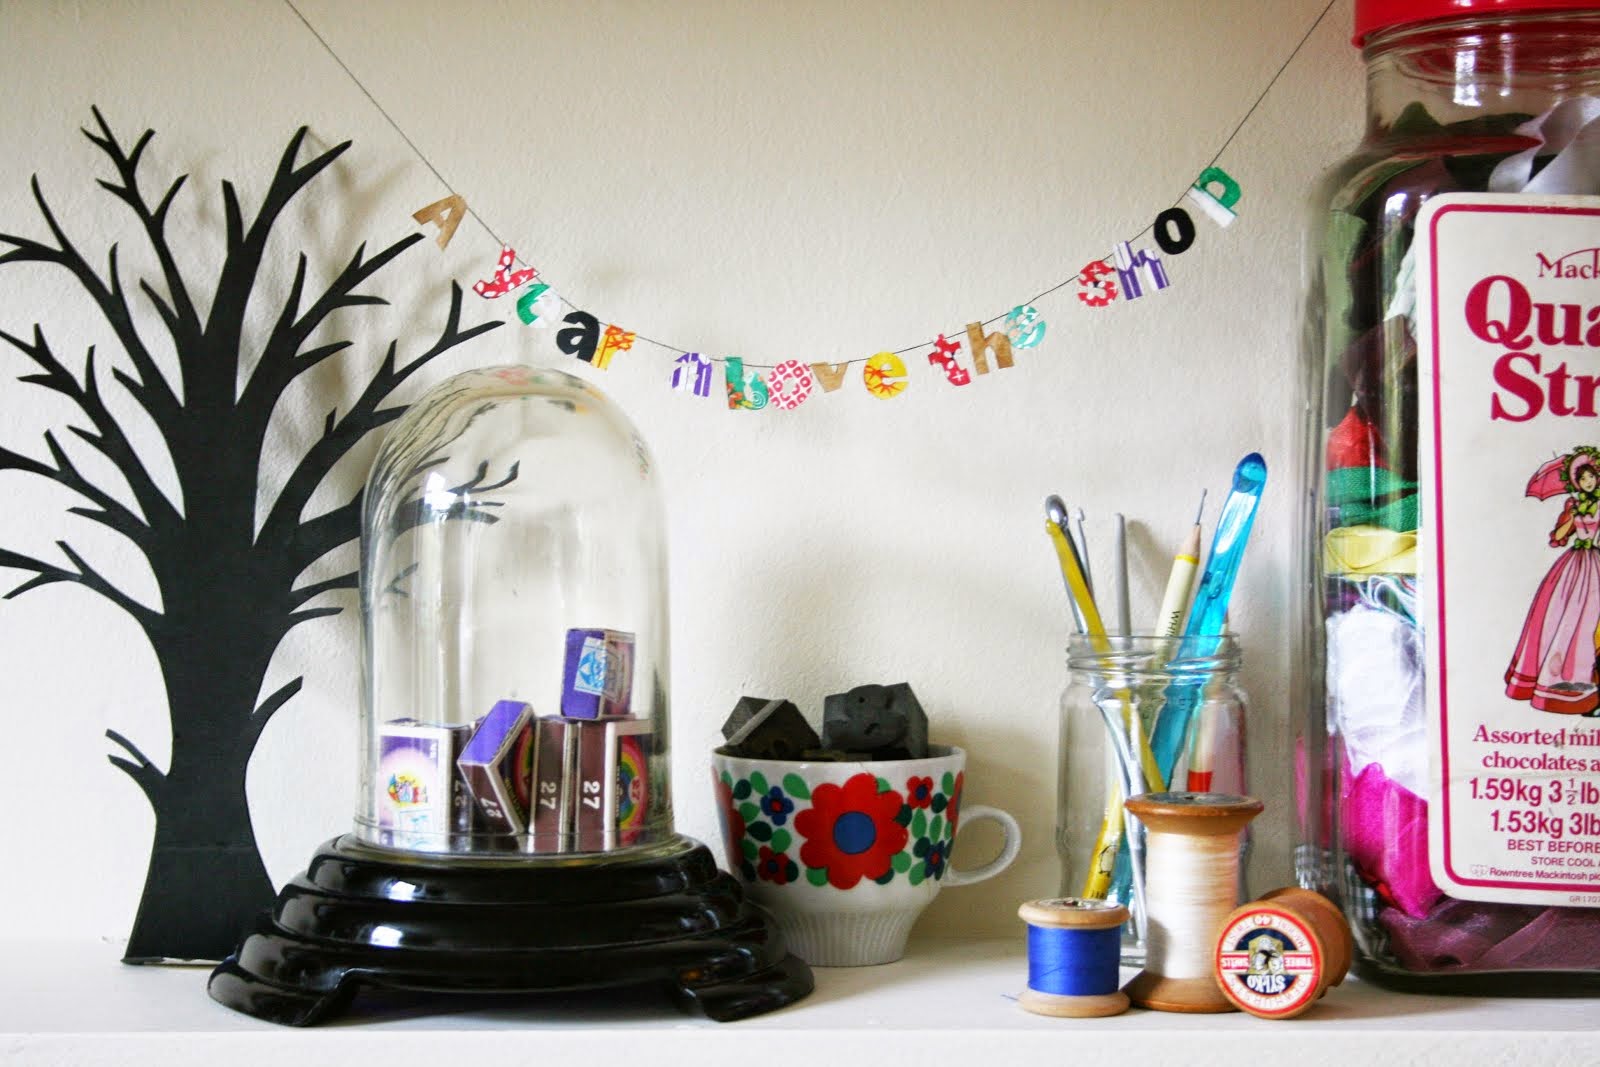
So without further ado I bring you the first ever a year above the shop tutorial:
Making a freezer paper stencil and print.
You will need:
Scissors
Scalpel
Pencil
Self-healing cutting mat (not essential but it makes life easier)
Freezer paper
Item to be printed
Fabric paint
Brushes
Iron
1 Make your design. You can print on freezer paper so the possibilities are endless, but I think freehand is best, this is handmade after all.

2 Cut. Keep a firm grip on reality as you turn positives to negatives, discarding where the motif will be. It sounds fairly straightforward but strangely it isn't. Keep your islands (in this example, the spots on the toadstool) safe. I find it easiest to use both a scalpel and a small sharp pair of scissors.

3 Iron your stencil to your base. This is the time to position the islands. It will look like this:

4 Paint. Put a piece of card underneath to prevent the paint seeping through to another layer. Leave it to dry for a few hours as per instructions. If you can bear to wait, leaving it overnight is best. Iron to fix the paint, again following instructions.

5 The best bit: peel off your stencil and ta-da!. Now is the time to do any touch-ups.

No comments:
Post a Comment